
For my new fish-tank I wanted to have a 3D background and decided to build it myself. There are a lot of pictures you can buy in the stores which you can stick at the back of the tank, but that was surely not what I wanted. There are also 3D backgrounds for sale in those stores, but they are all very expensive and the design wasn't what I had in mind. So I "googled" the internet and found a lot of useful information. I took the best of the best and started to build my own background (year 2005). This site describes the way I made my background and I hope it can be useful to my readers. I build two backgrounds and used the same technique on both. Here you can find the description of my second background.
I used the following materials:

I first started to find some pictures so I could get some ideas what the background should look like. What kind of rock, how to build some shelter, where the plants could be, etc, etc. There are a lot of websites where you can find pictures and stuff which you can use. You can also use the backgrounds that are for sale as an inspiration for your own. I decided to make an out coming rock, a place in the background for plants and a cave. I made a quick drawing and started to work from there.
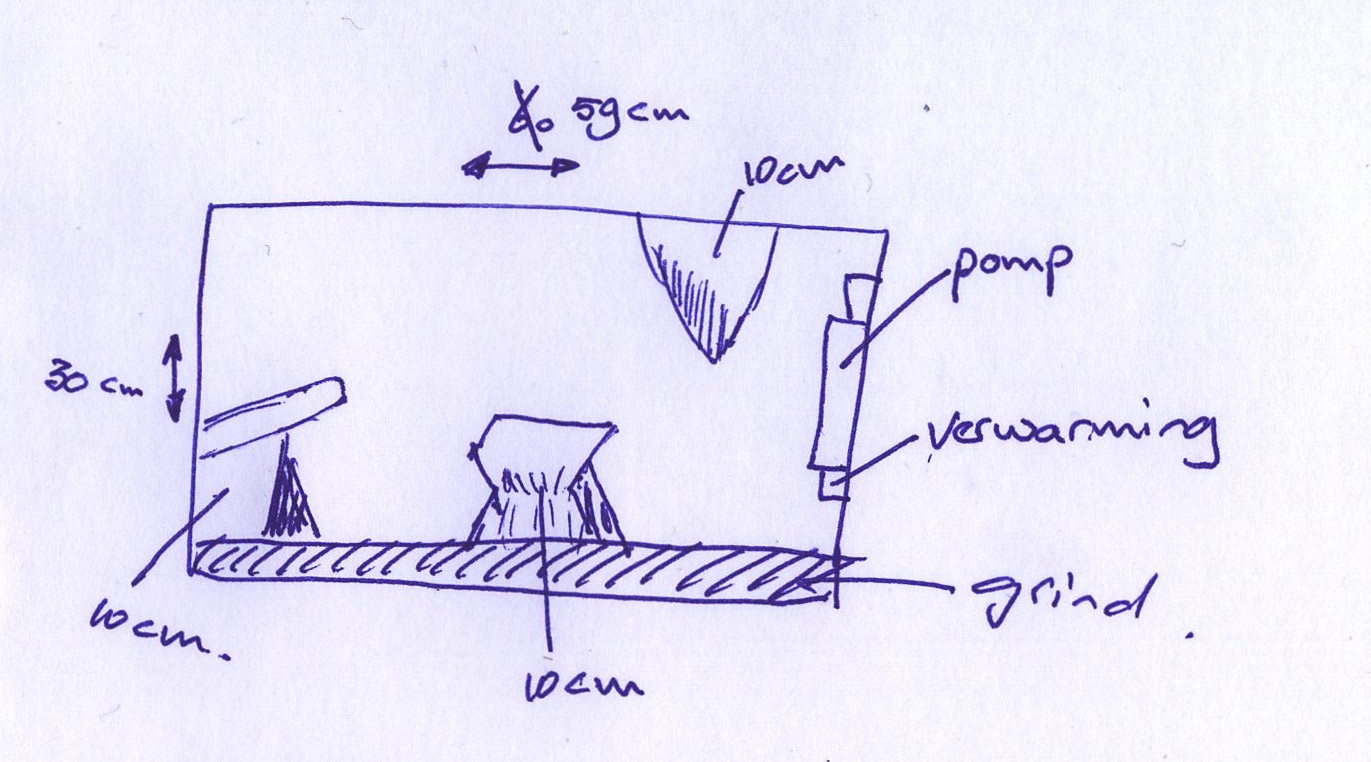
First I cutted out a piece of styrofoam the size of the back of the tank. In my case 60 cm (24 inch) by 30 cm (12 inch). Don't make it a tight fit, because of the cement and the epoxy that will be put on later. So it's better to use 59 cm (23,5 inch) by 30 cm (12 inch).
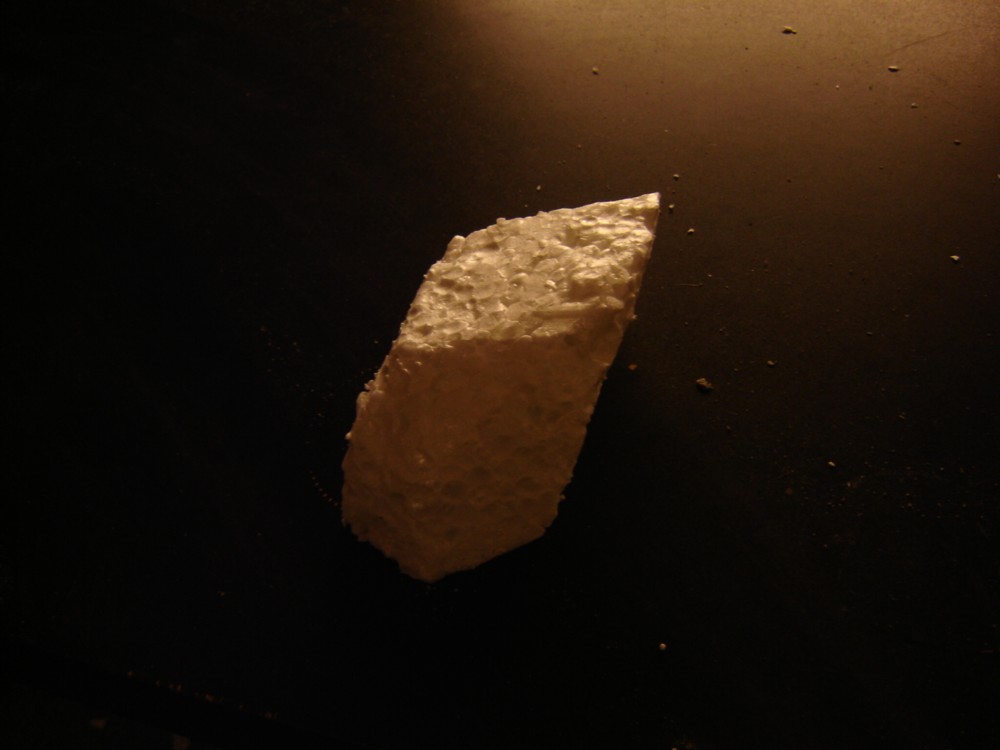
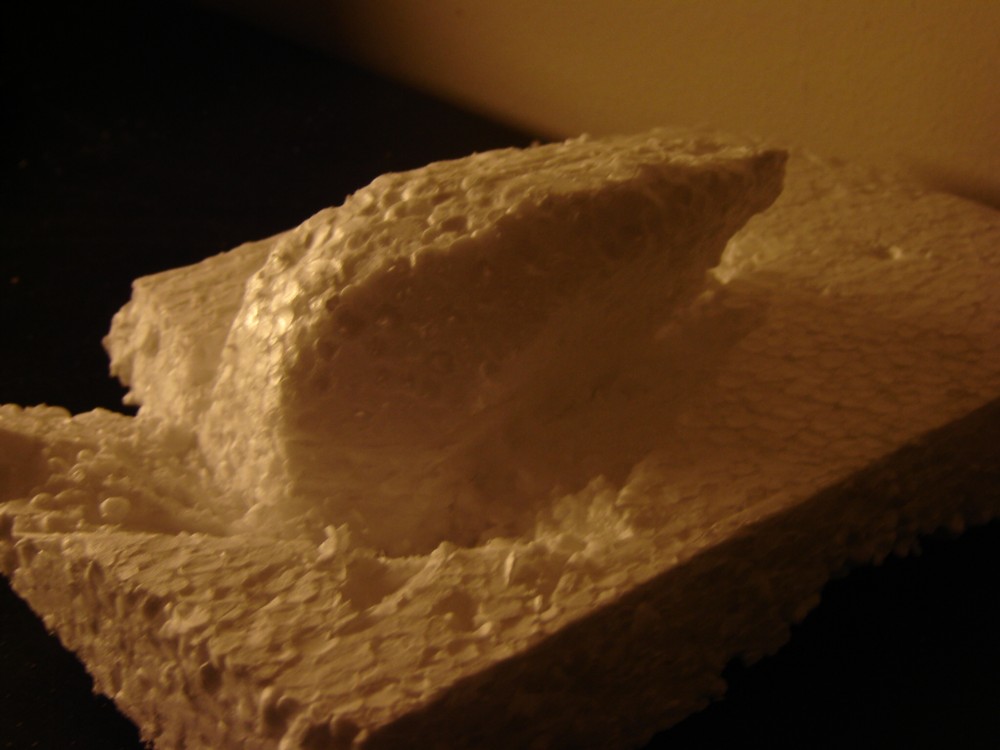
My styrofoam was 2" thick and I wanted it to be thicker at some places (4" or 6"). So first I cutted out some raw pieces and placed them on the major background piece. (The picture on the right is an example. The real background was bigger). Then I started to cut the raw piece and shaped it till it looked like a rock. Then I put the piece on the major background and made it flow in the background by cutting around it.

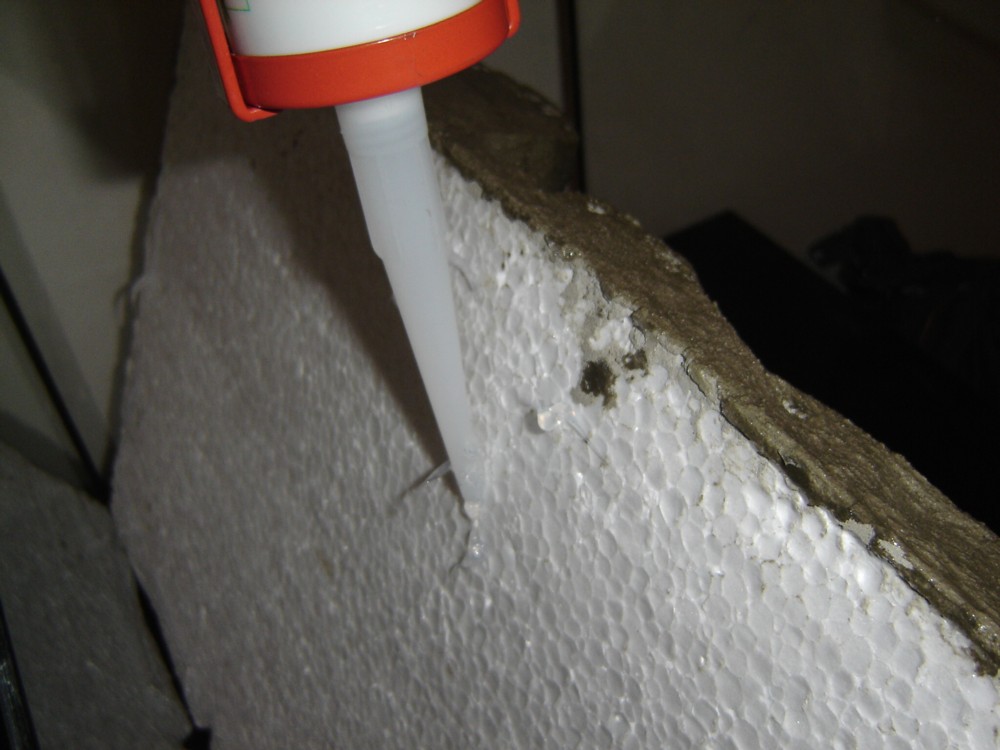
The next step was to use the silicone and glue the pieces on the background. You then let it dry for 24 hours.
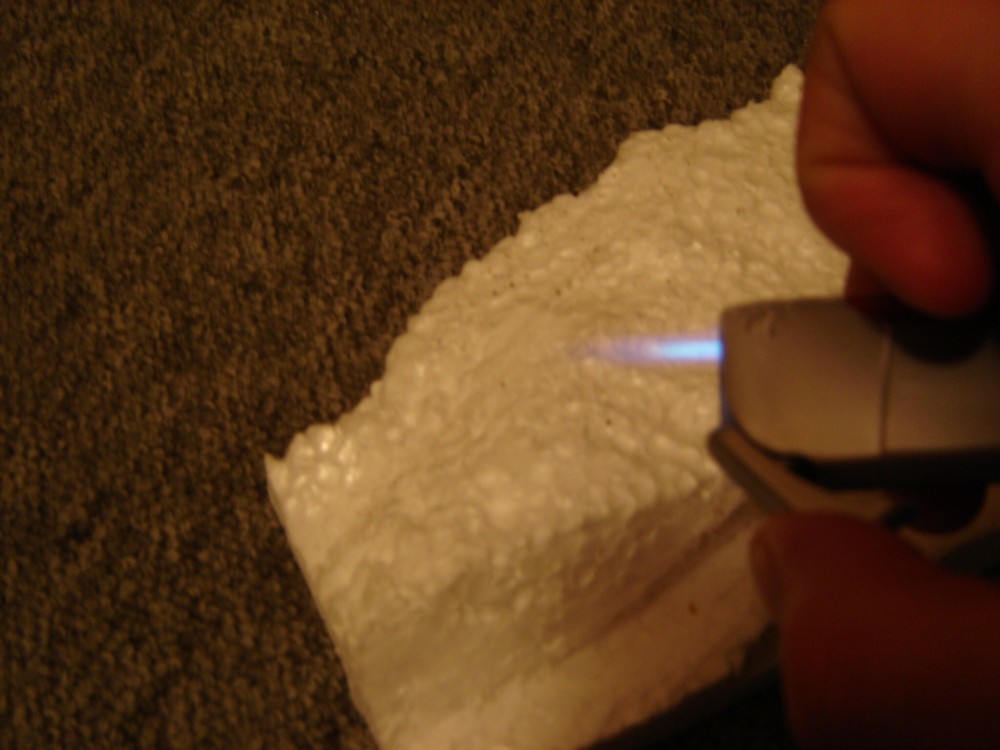
When you are done cutting, your room might look like a mess. I used a hair drier to blow the little pieces off my artwork and then started to slightly heat the styrofoam. You must be very careful because you might burn too much. After heating the styrofoam it looks more like the texture of a rock. Make sure that the room is well ventilated because heating the styrofoam releases nasty stuff.
After heating the styrofoam it is time to put the fist layer of coating on the background. I used six thin layers of cement. After the first layer you can still see the styrofoam.
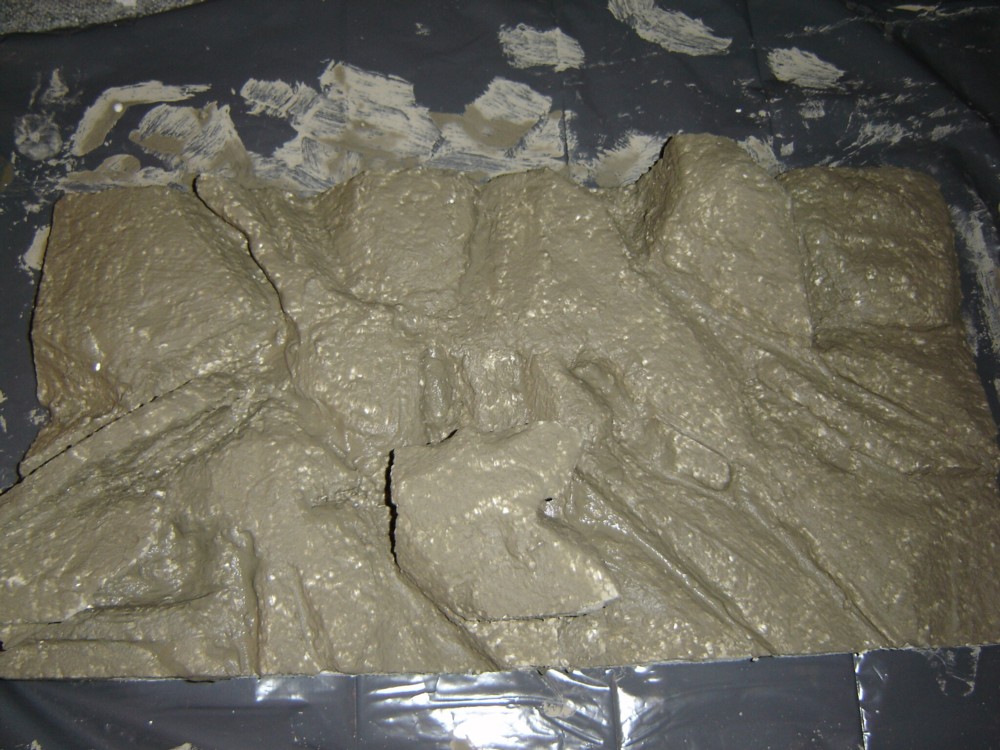
The picture on the right is after three layers of cement.
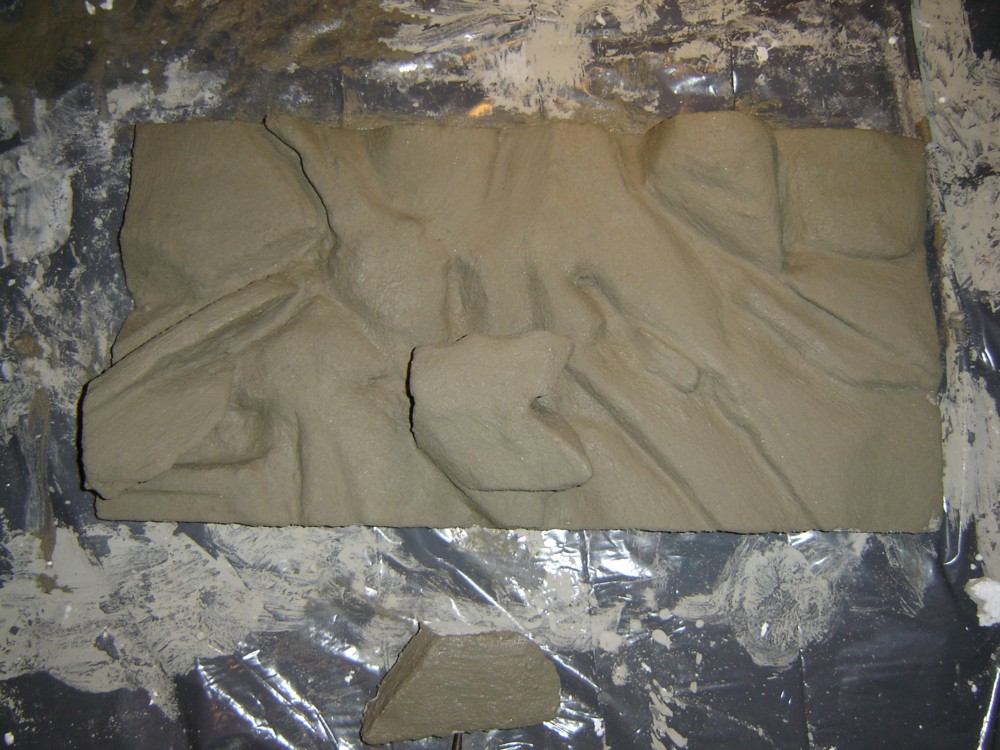
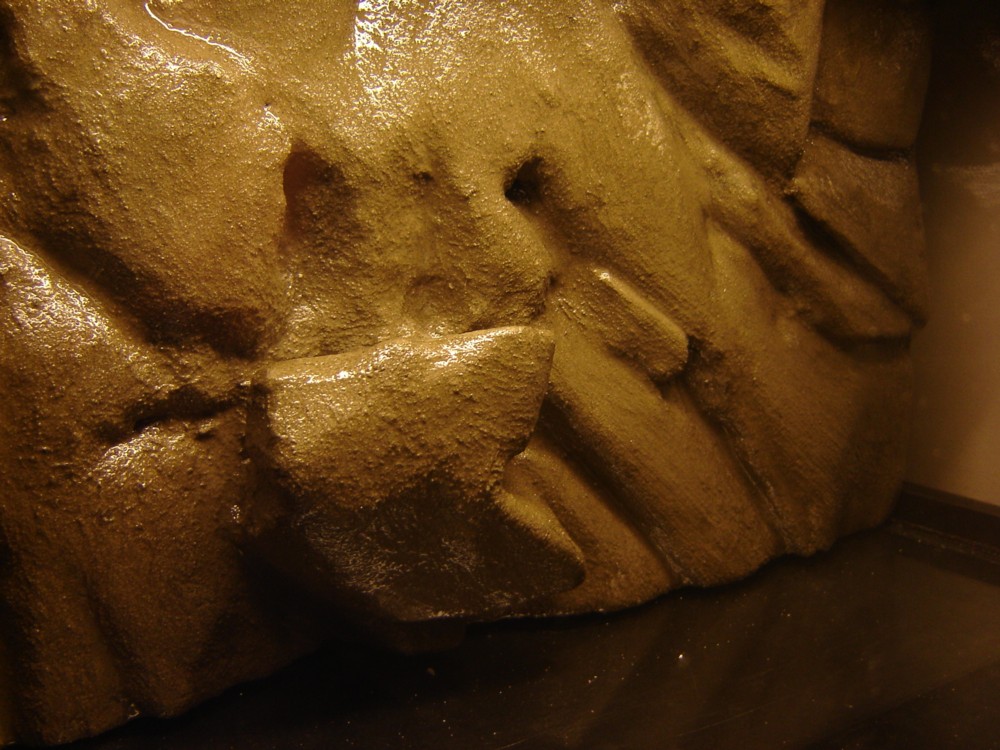
The picture on the right is after the last layer of cement.
After the last layer I used the sandpaper to make the cement more even. Afterwards I used the brush to get rid of the dust.

The next step is to put a layer of epoxy resin over the background. This ensures that no toxic fluids will get in the water and the fish won't destroy your background. Some fish will scrape the cement of the styrofoam and your background will be destroyed. Another good reason to use epoxy is that because of the cement your PH will rise and the epoxy creates a barrier between the cement and the water.

Make sure the mixture of resin and hardener is correct. If it's not correct, the resin isn't going to harden like it should. I used 300 ml epoxy resin and 100 ml hardener.
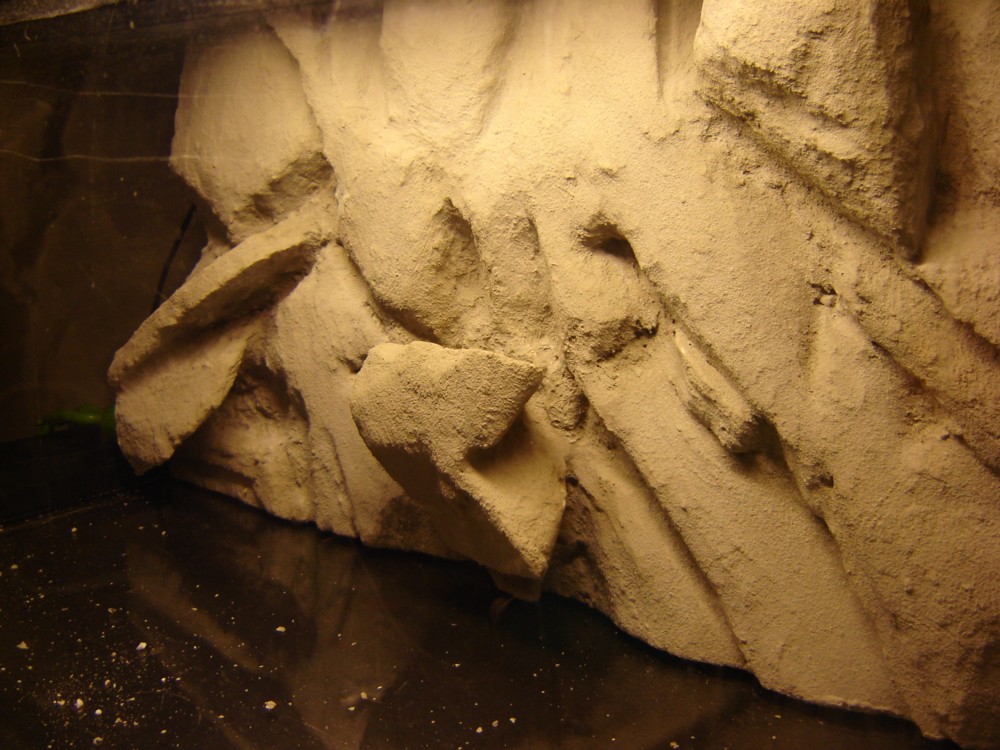
First I made the glass clean and then I used the Silicone to glue the background to the background of the tank. Be careful when you place the background in the tank. The epoxy resin is very hard and can damage the glass.
I tilted the tank on his back and let the silicone dry for 48 hours.

The next step is to fill the tank with water. The first week you'll need to circulate the water using a pomp. Frequently refresh the water.

The first few hours you will see some spots on the background.

After some more hours the spots will be gone.
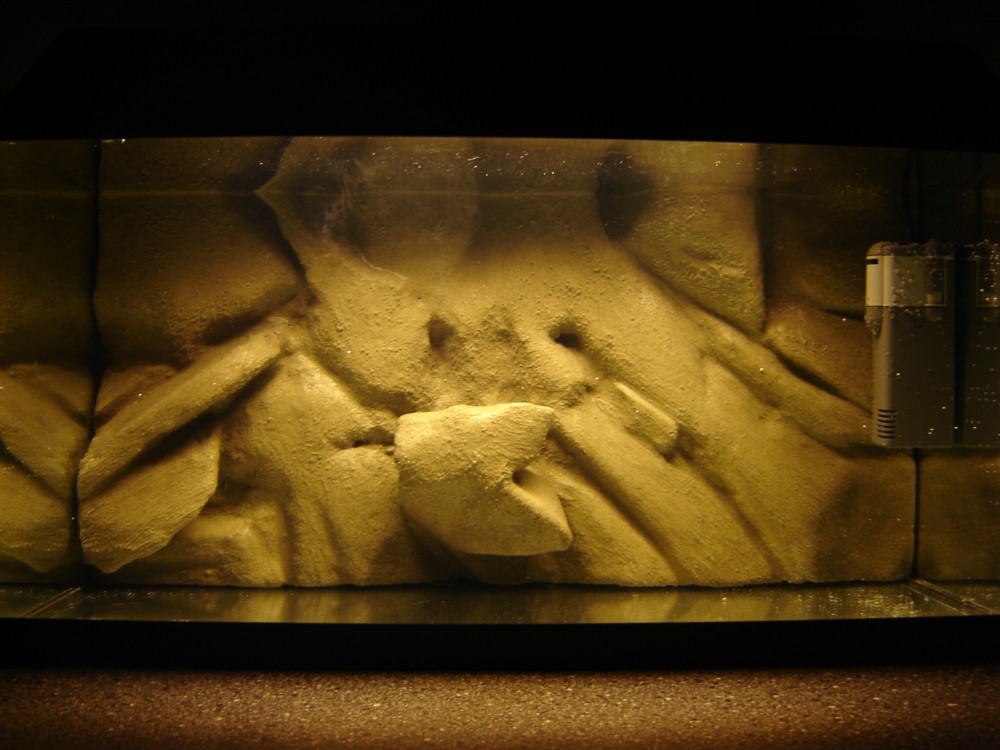
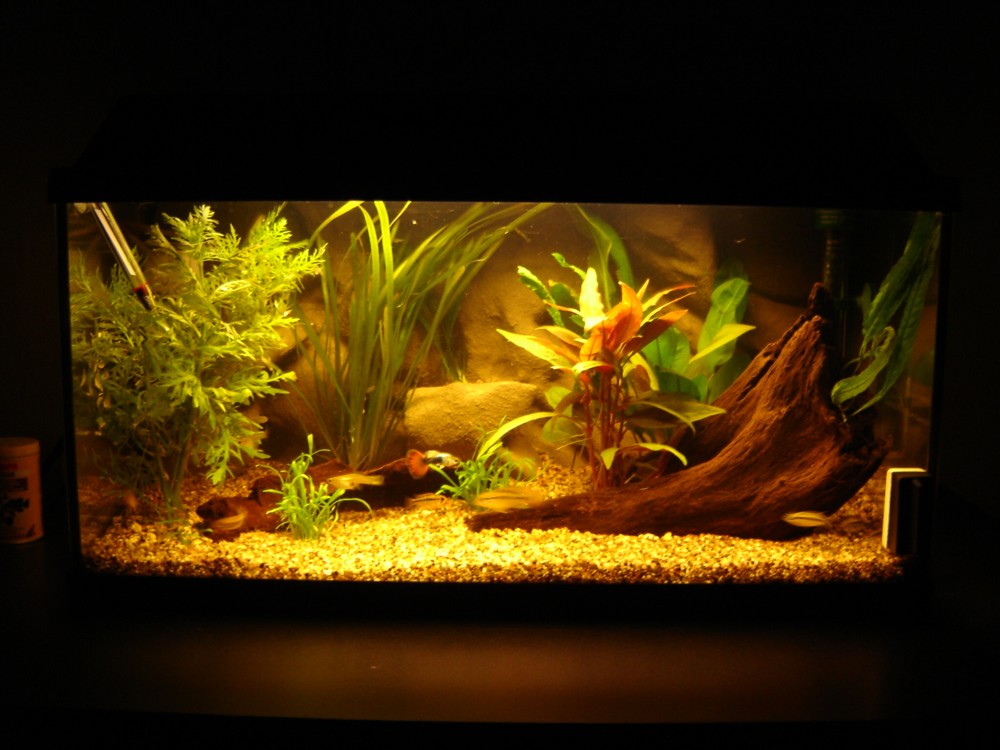
After a week of circulating an refreshing and when your PH is stable, you can put in plants and fish.

I used some wood and a some plants.
The dwarf cichlids in my tank:
Apistogramma Cacatuoides double red
Apistogramma nijsseni

2 aug 2007: I made my background 2 years ago (2005) and it is still in good order. All the fish are in good shape and there is no strange behaviour.
